WindowShowDemo
1、简介
本文将主要介绍 Android 常见的窗体效果。包括 Dialog,DialogFragment,PopupWindow,BottomSheetDialog 以及自定义 view 实现弹窗等效果。
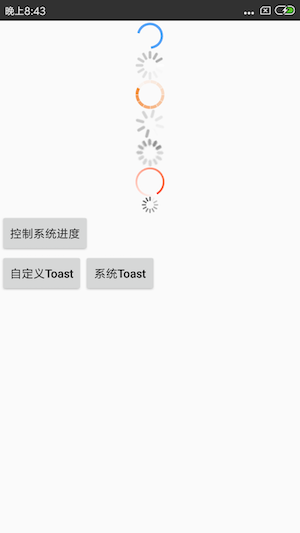
附属包含进度条效果以及自定义 Toast。
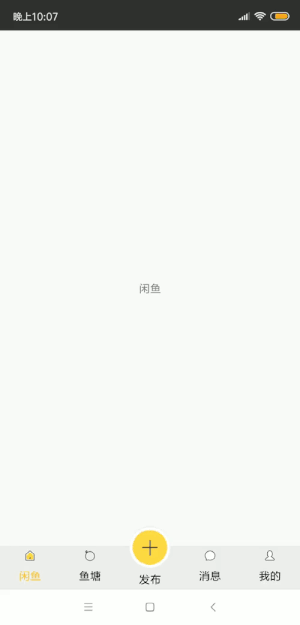
案例包含,dialog 仿淘宝购买页,dialogFragment 实现仿爱好选择,popupwindow 实现拍照选择,bottomsheetDialog 实现条目选择,chipChildren 实现仿咸鱼添加菜单效果,dialog 实现仿 ios 拍照选择,自定义 view 背景和布局方式实现顶部筛选效果,DialogFragment 实现弹窗更新效果,自定义 dialog 效果,建造者模式模仿 AlertDialog,进度条效果等
运行效果
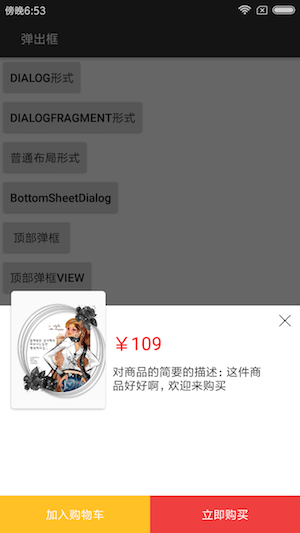


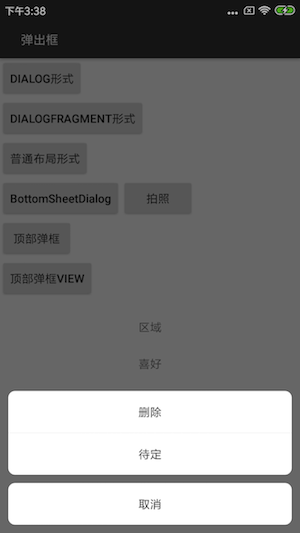
2.1 Dialog 形式
注释写的还是很清晰的,如下。
private void showPurchaseView() {
    // 以特定的风格创建一个 dialog
    Dialog dialog = new Dialog(this,R.style.MyDialog);
    // 加载 dialog 布局 view
    View purchase = LayoutInflater.from(this).inflate(R.layout.dialog_purchase, null);
    // 设置外部点击 取消 dialog
    dialog.setCancelable(true);
    // 获得窗体对象
    Window window = dialog.getWindow();
    // 设置窗体的对齐方式
    window.setGravity(Gravity.BOTTOM);
    // 设置窗体动画
    window.setWindowAnimations(R.style.AnimBottom);
    // 设置窗体的 padding
    window.getDecorView().setPadding(0, 0, 0, 0);
    WindowManager.LayoutParams lp = window.getAttributes();
    lp.width = WindowManager.LayoutParams.MATCH_PARENT;
    lp.height = WindowManager.LayoutParams.WRAP_CONTENT;
    window.setAttributes(lp);
    dialog.setContentView(purchase);
    dialog.show();
}
下面给出 style 的设置。
<!-- 设置 弹出弹入的动画  由下往上 然后再返回去-->
<style name="AnimBottom" parent="@android:style/Animation">
    <item name="android:windowEnterAnimation">@anim/push_bottom_in</item>
    <item name="android:windowExitAnimation">@anim/push_bottom_out</item>
</style>

<!--底部弹框 样式-->
<style name="MyDialog" parent="@android:style/Theme.Dialog">
    <item name="android:windowFrame">@null</item>
    <item name="android:windowIsFloating">true</item>
    <item name="android:windowIsTranslucent">true</item>
    <item name="android:windowNoTitle">true</item>
    <item name="android:background">@android:color/transparent</item>
    <item name="android:windowBackground">@android:color/transparent</item>
    <item name="android:backgroundDimEnabled">true</item>
    <item name="android:backgroundDimAmount">0.6</item>
</style>
R.layout.dialog_purchase.xml
其实这里还是挺重要的:
得为布局设置白色背景 否则为 dialog 背景色
这种错落的效果 是使用的 clipChildren = "false" 属性,需要去了解
        </LinearLayout>

    </LinearLayout>
    <ImageView
        android:id="@+id/iv_back"
        android:padding="10dp"
        android:layout_alignParentRight="true"
        android:src="@mipmap/buy_delete"
        android:layout_width="wrap_content"
        android:layout_height="wrap_content"/>
</LinearLayout>
<View
    android:background="#fff"
    android:layout_width="match_parent"
    android:layout_height="100dp"/>
<LinearLayout
    android:background="#fff"
    android:layout_width="match_parent"
    android:layout_height="45dp">

    <Button
        android:id="@+id/add_cart_btn"
        android:layout_weight="1.0"
        android:layout_width="0dip"
        android:layout_height="match_parent"
        android:text="加入购物车"
        android:textColor="#fff"
        android:background="@drawable/button_yellow_selector"
        android:layout_alignParentLeft="true"
        />

    <Button
        android:id="@+id/buy_btn"
        android:layout_weight="1.0"
        android:layout_width="0dip"
        android:layout_height="match_parent"
        android:text="立即购买"
        android:textColor="#fff"
        android:background="@drawable/button_selector"
        android:layout_alignParentRight="true"
        />
</LinearLayout>
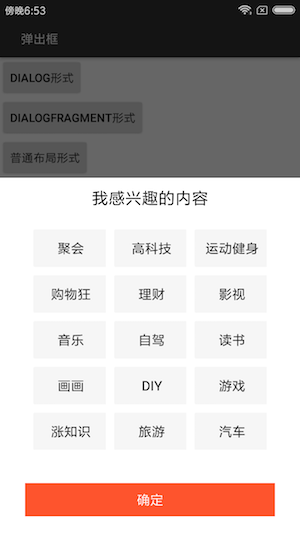
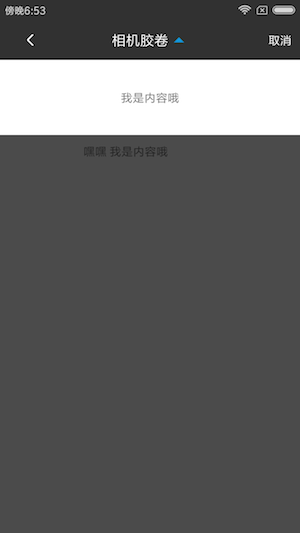
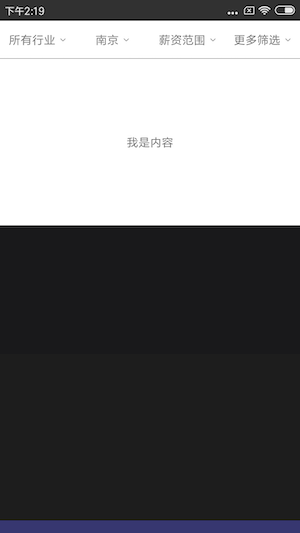
2.2 DialogFragment 形式
主要是创建一个 Java 类,然后继承自 DialogFragment 方法即可,下面给出部分代码
@Override
public Dialog onCreateDialog(Bundle savedInstanceState) {
    // 使用不带 Theme 的构造器, 获得的 dialog 边框距离屏幕仍有几毫米的缝隙。
    Dialog dialog = new Dialog(getActivity(), R.style.MyDialog);
    mContext = getActivity();
    dialog.requestWindowFeature(Window.FEATURE_NO_TITLE); // 设置 Content 前设定
    dialog.setContentView(R.layout.fragment_dialog_show_enjoy);
    dialog.setCanceledOnTouchOutside(true); // 外部点击取消
    // 设置宽度为屏宽, 靠近屏幕底部。
    final Window window = dialog.getWindow();
    window.setWindowAnimations(R.style.AnimBottom);
    final WindowManager.LayoutParams lp = window.getAttributes();
    lp.gravity = Gravity.BOTTOM; // 紧贴底部
    lp.width = WindowManager.LayoutParams.MATCH_PARENT; // 宽度持平
    lp.height = getActivity().getWindowManager().getDefaultDisplay().getHeight() * 2/ 3;
    window.setAttributes(lp);
    getDataFromBefore();
    initView(dialog);
    // 窗口初始化后 请求网络数据
    return dialog;
}
如何从一个活动跳转向 DialogFragment 且传值呢
ShowEnjoyDialogFragment showEnjoyDialogFragment = new ShowEnjoyDialogFragment(); Bundle bundle = new Bundle(); // bundle.putStringArrayList(AppConst.HOBBY_KEY_ENJOY, mHobbyStrList); showEnjoyDialogFragment.setArguments(bundle); showEnjoyDialogFragment.show(getFragmentManager(), "showEnjoyDialogFragment");
2.3 普通的 View 形式
这里的思想主要是通过布局的显示与隐藏加上动画来实现特定的效果
<android.support.design.widget.CoordinatorLayout xmlns:android="http://schemas.android.com/apk/res/android"
xmlns:app="http://schemas.android.com/apk/res-auto"
xmlns:tools="http://schemas.android.com/tools"
android:layout_width="match_parent"
android:layout_height="match_parent"
tools:context="com.example.windowshowdemo.MainActivity">
</android.support.design.widget.CoordinatorLayout>
private void hideBottomMenu(){
    TranslateAnimation ta = new TranslateAnimation(Animation.RELATIVE_TO_SELF,
            0, Animation.RELATIVE_TO_SELF, 0,
            Animation.RELATIVE_TO_SELF,
            0, Animation.RELATIVE_TO_SELF, 1);
    ta.setAnimationListener(new Animation.AnimationListener() {
        @Override
        public void onAnimationStart(Animation animation) {

        }

        @Override
        public void onAnimationEnd(Animation animation) {
            mRlMenu.setVisibility(View.GONE);
        }

        @Override
        public void onAnimationRepeat(Animation animation) {

        }
    });
    ta.setDuration(200);
    mSvMenu.startAnimation(ta);
}
总结:
好了,以上主要是起一个笔记的作用,希望对读者有一定的帮助,写的不对的地方请多多指教,谢谢
如上还增加了一个咸鱼底部凹凸的例子,也是学到了许多东西。
