Rialto

Rialto
Rialto is an Android text styling library based upon Annotation Spans. Rialto enables you to provide consistent text formatting throughout your app by using annotations in your string resources.
- Getting Started
- Combining Spans
- Cascading Registry
- Format Strings
- Downloadable Fonts
- Java Interoperability
- Internals
Getting Started
To use Rialto you need to do two things: Firstly you need to initialise the Rialto framework and register the Spans which will get applied for specific key / value pairs in your annotations; Secondly you need to add annotations to your string resources using those key / value pairs and Rialto will do the rest.
Rialto comes in three flavours depending on whether you're using the legacy Support AppCompat library, AndroidX AppCompat library, or Material components library. It does not currently support apps which use legacy framework themes as it is assumed that most modern apps or using either AppCompat or Material components (which currently depends on AndroidX AppCompat). In this example, we will look at how to use the AndroidX AppCompat version, but there are also examples of using the other flavours in the sample projects within the GitHub repo.
Rialto is published to JCenter, so if you haven't already gort the JCenter repo configured in your build script, then you'll need to add it:
buildscript {
    repositories {
        ...
        jcenter()
    }
}
The first thing to do is to add the necessary dependency to your project:
dependencies {
    ...
    implementation 'com.stylingandroid.rialto:rialto-androidx:1.2.0'
    ...
}
If you are using the legacy AppCompat library use the artifact named rialto-support instead; alternatively, if you're using the Material components library use rialto-material.
By far the easiest way to implement Rialto is to use RialtoActivity as the base class for your Activity. Don't worry that you need to extend AppCompatActivity - RialtoActivity is a subclass of that, so you'll automatically get it. The version of AppCompatActivity which will be used will depend upon the flavour of Rialto that you're using. For example rialto-androidx subclasses AppCompatActivity from the Android X version of AppCompat. There is also a way of implementing Rialto without subclassing RialtoActivity, and we'll look at that in a future article.
The next thing that we need to do is register some factories which will be used to create spans whenever annotations are found with specific key /value pairs. It is important to do this before we inflate any layouts because the Rialto framework will perform text formatting during layout inflation, and we therefore need to register these factories first in order to apply the correct formatting. This example shows how we can register a couple of span types to handle bold and italic (yes, I realise that we can already apply these styles using <b> and <i> in our text resources, but the value behind re-implementing these using annotations will become apparent as we explore some slightly more complex examples):
class MainActivity : RialtoActivity() {

    override fun onCreate(savedInstanceState: Bundle?) {
        super.onCreate(savedInstanceState)
        registerSpanFactory("format", "bold") { StyleSpan(Typeface.BOLD) }
        registerSpanFactory("format", "italic") { StyleSpan(Typeface.ITALIC) }
        setContentView(R.layout.activity_main)
    }
}
RialtoActivity has a field named factory which is where we perform our registrations, and then we register a couple of span types to specific key value pairs. The lambda is a simple factory method which will create a span of the correct type. This example registers two spans: The first will be applied to any annotation with a key of "format" and a value of "bold" and will apply a bold StyleSpan to the text included within the annotation; the second will will be applied to any annotation with a key of "format" and a value of "italic" and will apply an italic StyleSpan to the text included within the annotation.
Now we create a Layout with a single TextView:
<?xml version="1.0" encoding="utf-8"?>
<androidx.constraintlayout.widget.ConstraintLayout xmlns:android="http://schemas.android.com/apk/res/android"
  xmlns:app="http://schemas.android.com/apk/res-auto"
  xmlns:tools="http://schemas.android.com/tools"
  android:layout_width="match_parent"
  android:layout_height="match_parent"
  tools:context="com.stylingandroid.rialto.kotlin.MainActivity">

  <TextView
    android:layout_width="0dp"
    android:layout_height="wrap_content"
    android:layout_margin="16dp"
    android:text="@string/main_text"
    app:layout_constraintBottom_toBottomOf="parent"
    app:layout_constraintLeft_toLeftOf="parent"
    app:layout_constraintRight_toRightOf="parent"
    app:layout_constraintTop_toTopOf="parent" />

</androidx.constraintlayout.widget.ConstraintLayout>
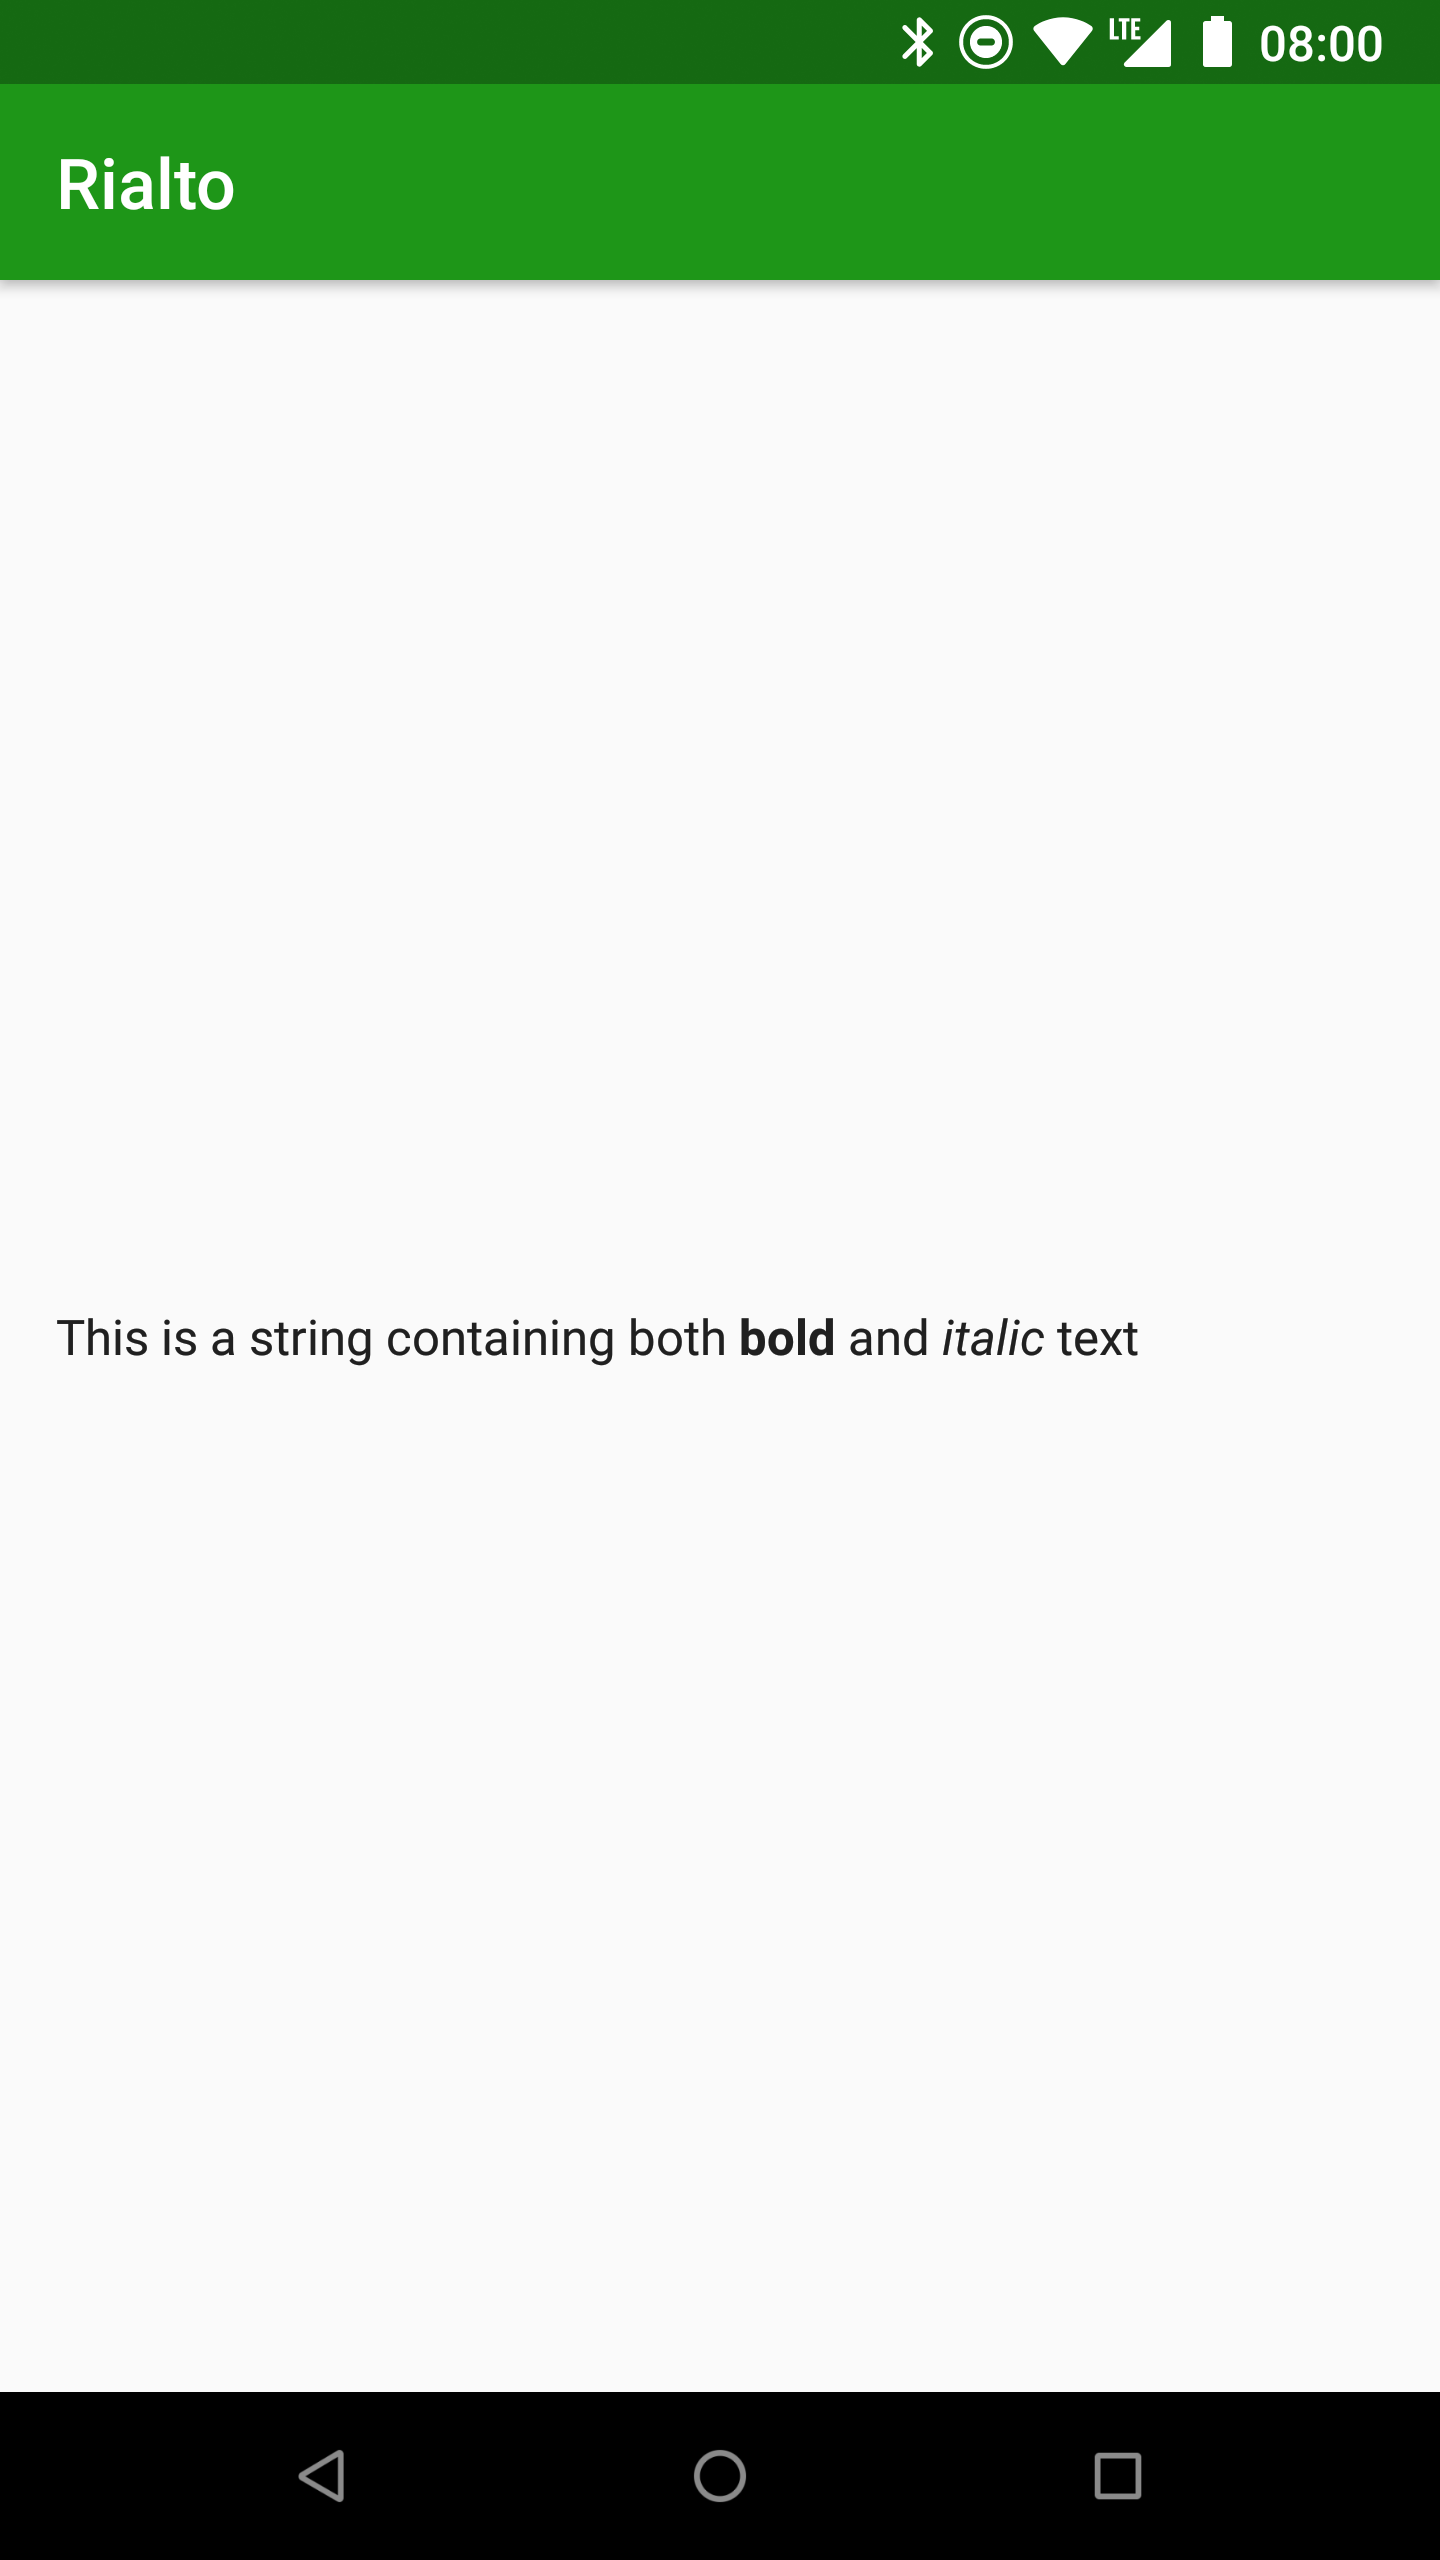
The string resource with the id @string/main_text that we use for this TextView looks like this:
<resources>
    ...
    <string name="main_text">This is a string containing both <annotation format="bold">bold</annotation> and <annotation format="italic">italic</annotation> text</string>
    ...
</resources>
Note how the attributes of the <annotation ...> elements matches the key / value pairs that we registered earlier.
That's all we need to do, there's no need to manually do any processing, Rialto does it for us:
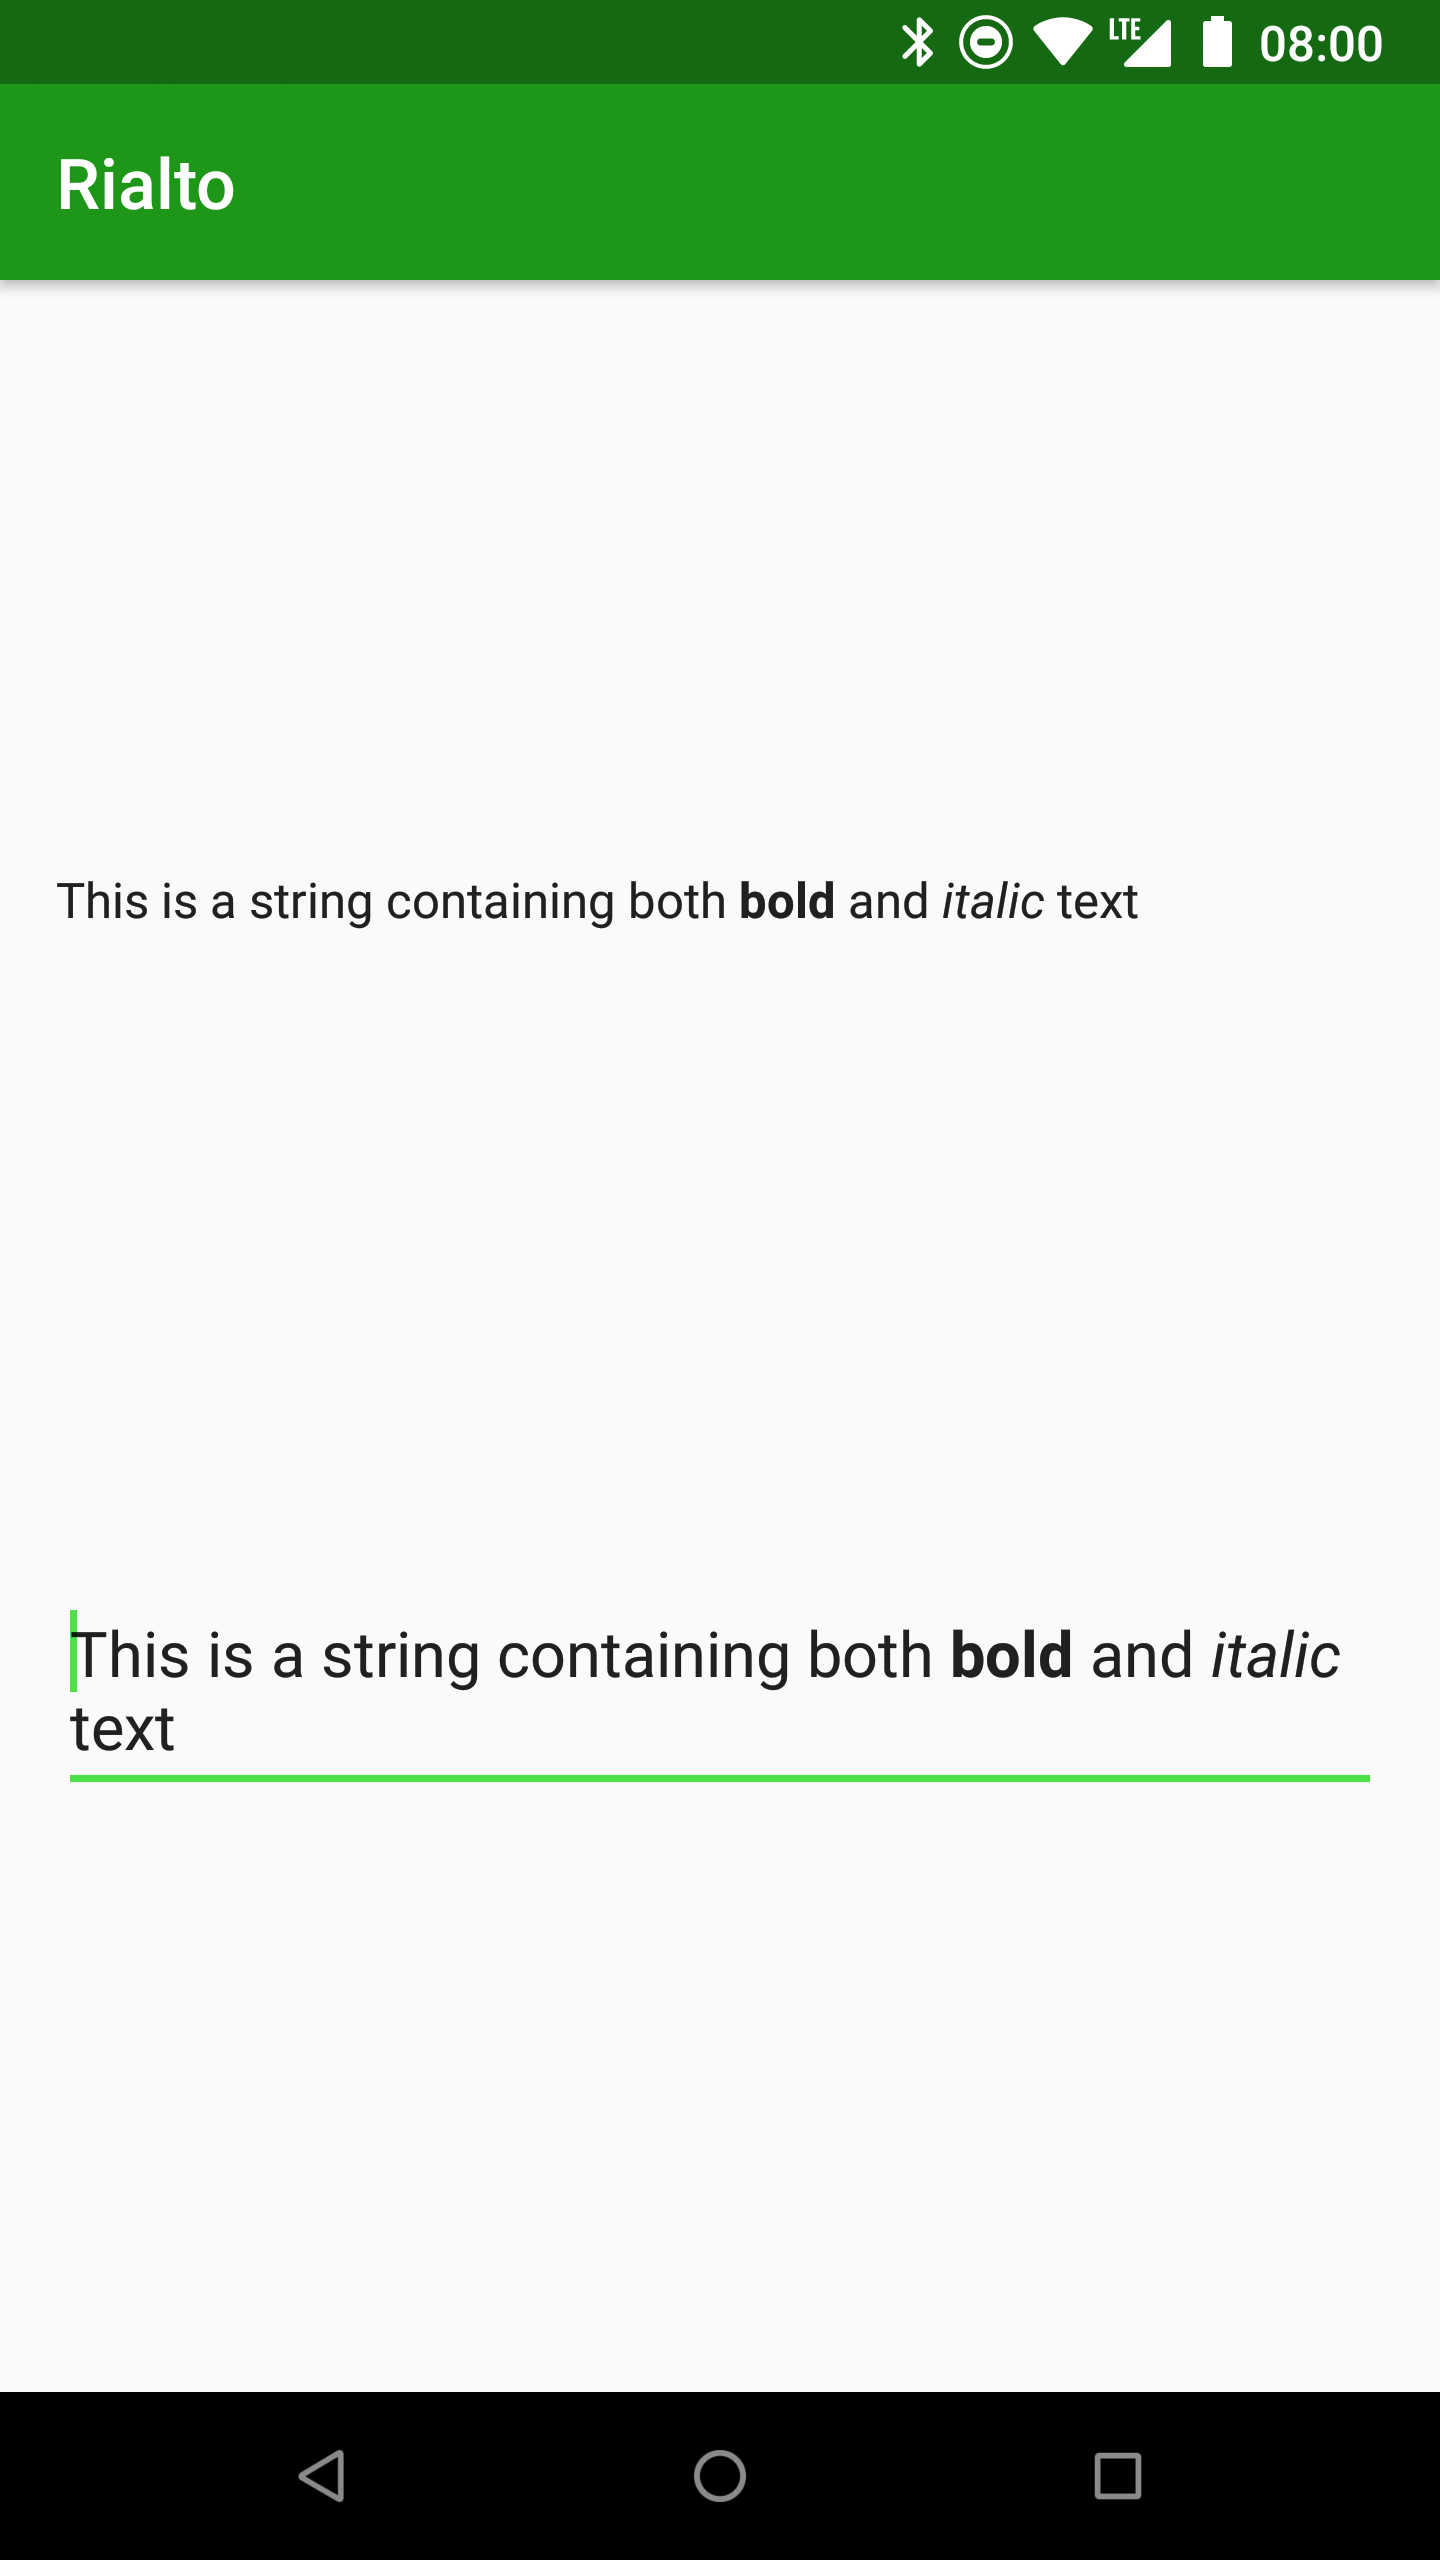
It also works for EditText:
<?xml version="1.0" encoding="utf-8"?>
<androidx.constraintlayout.widget.ConstraintLayout xmlns:android="http://schemas.android.com/apk/res/android"
    xmlns:app="http://schemas.android.com/apk/res-auto"
    xmlns:tools="http://schemas.android.com/tools"
    android:layout_width="match_parent"
    android:layout_height="match_parent"
    tools:context="com.stylingandroid.rialto.kotlin.MainActivity">

    <TextView
        android:id="@+id/formatted_text_view"
        android:layout_width="0dp"
        android:layout_height="wrap_content"
        android:layout_margin="16dp"
        android:text="@string/main_text"
        app:layout_constraintBottom_toTopOf="@id/formatted_edit_text"
        app:layout_constraintLeft_toLeftOf="parent"
        app:layout_constraintRight_toRightOf="parent"
        app:layout_constraintTop_toTopOf="parent" />

    <EditText
        android:id="@+id/formatted_edit_text"
        android:layout_width="0dp"
        android:layout_height="wrap_content"
        android:layout_margin="16dp"
        android:text="@string/main_text"
        app:layout_constraintBottom_toBottomOf="parent"
        app:layout_constraintLeft_toLeftOf="parent"
        app:layout_constraintRight_toRightOf="parent"
        app:layout_constraintTop_toBottomOf="@+id/formatted_text_view" />

</androidx.constraintlayout.widget.ConstraintLayout>
This produces the following:
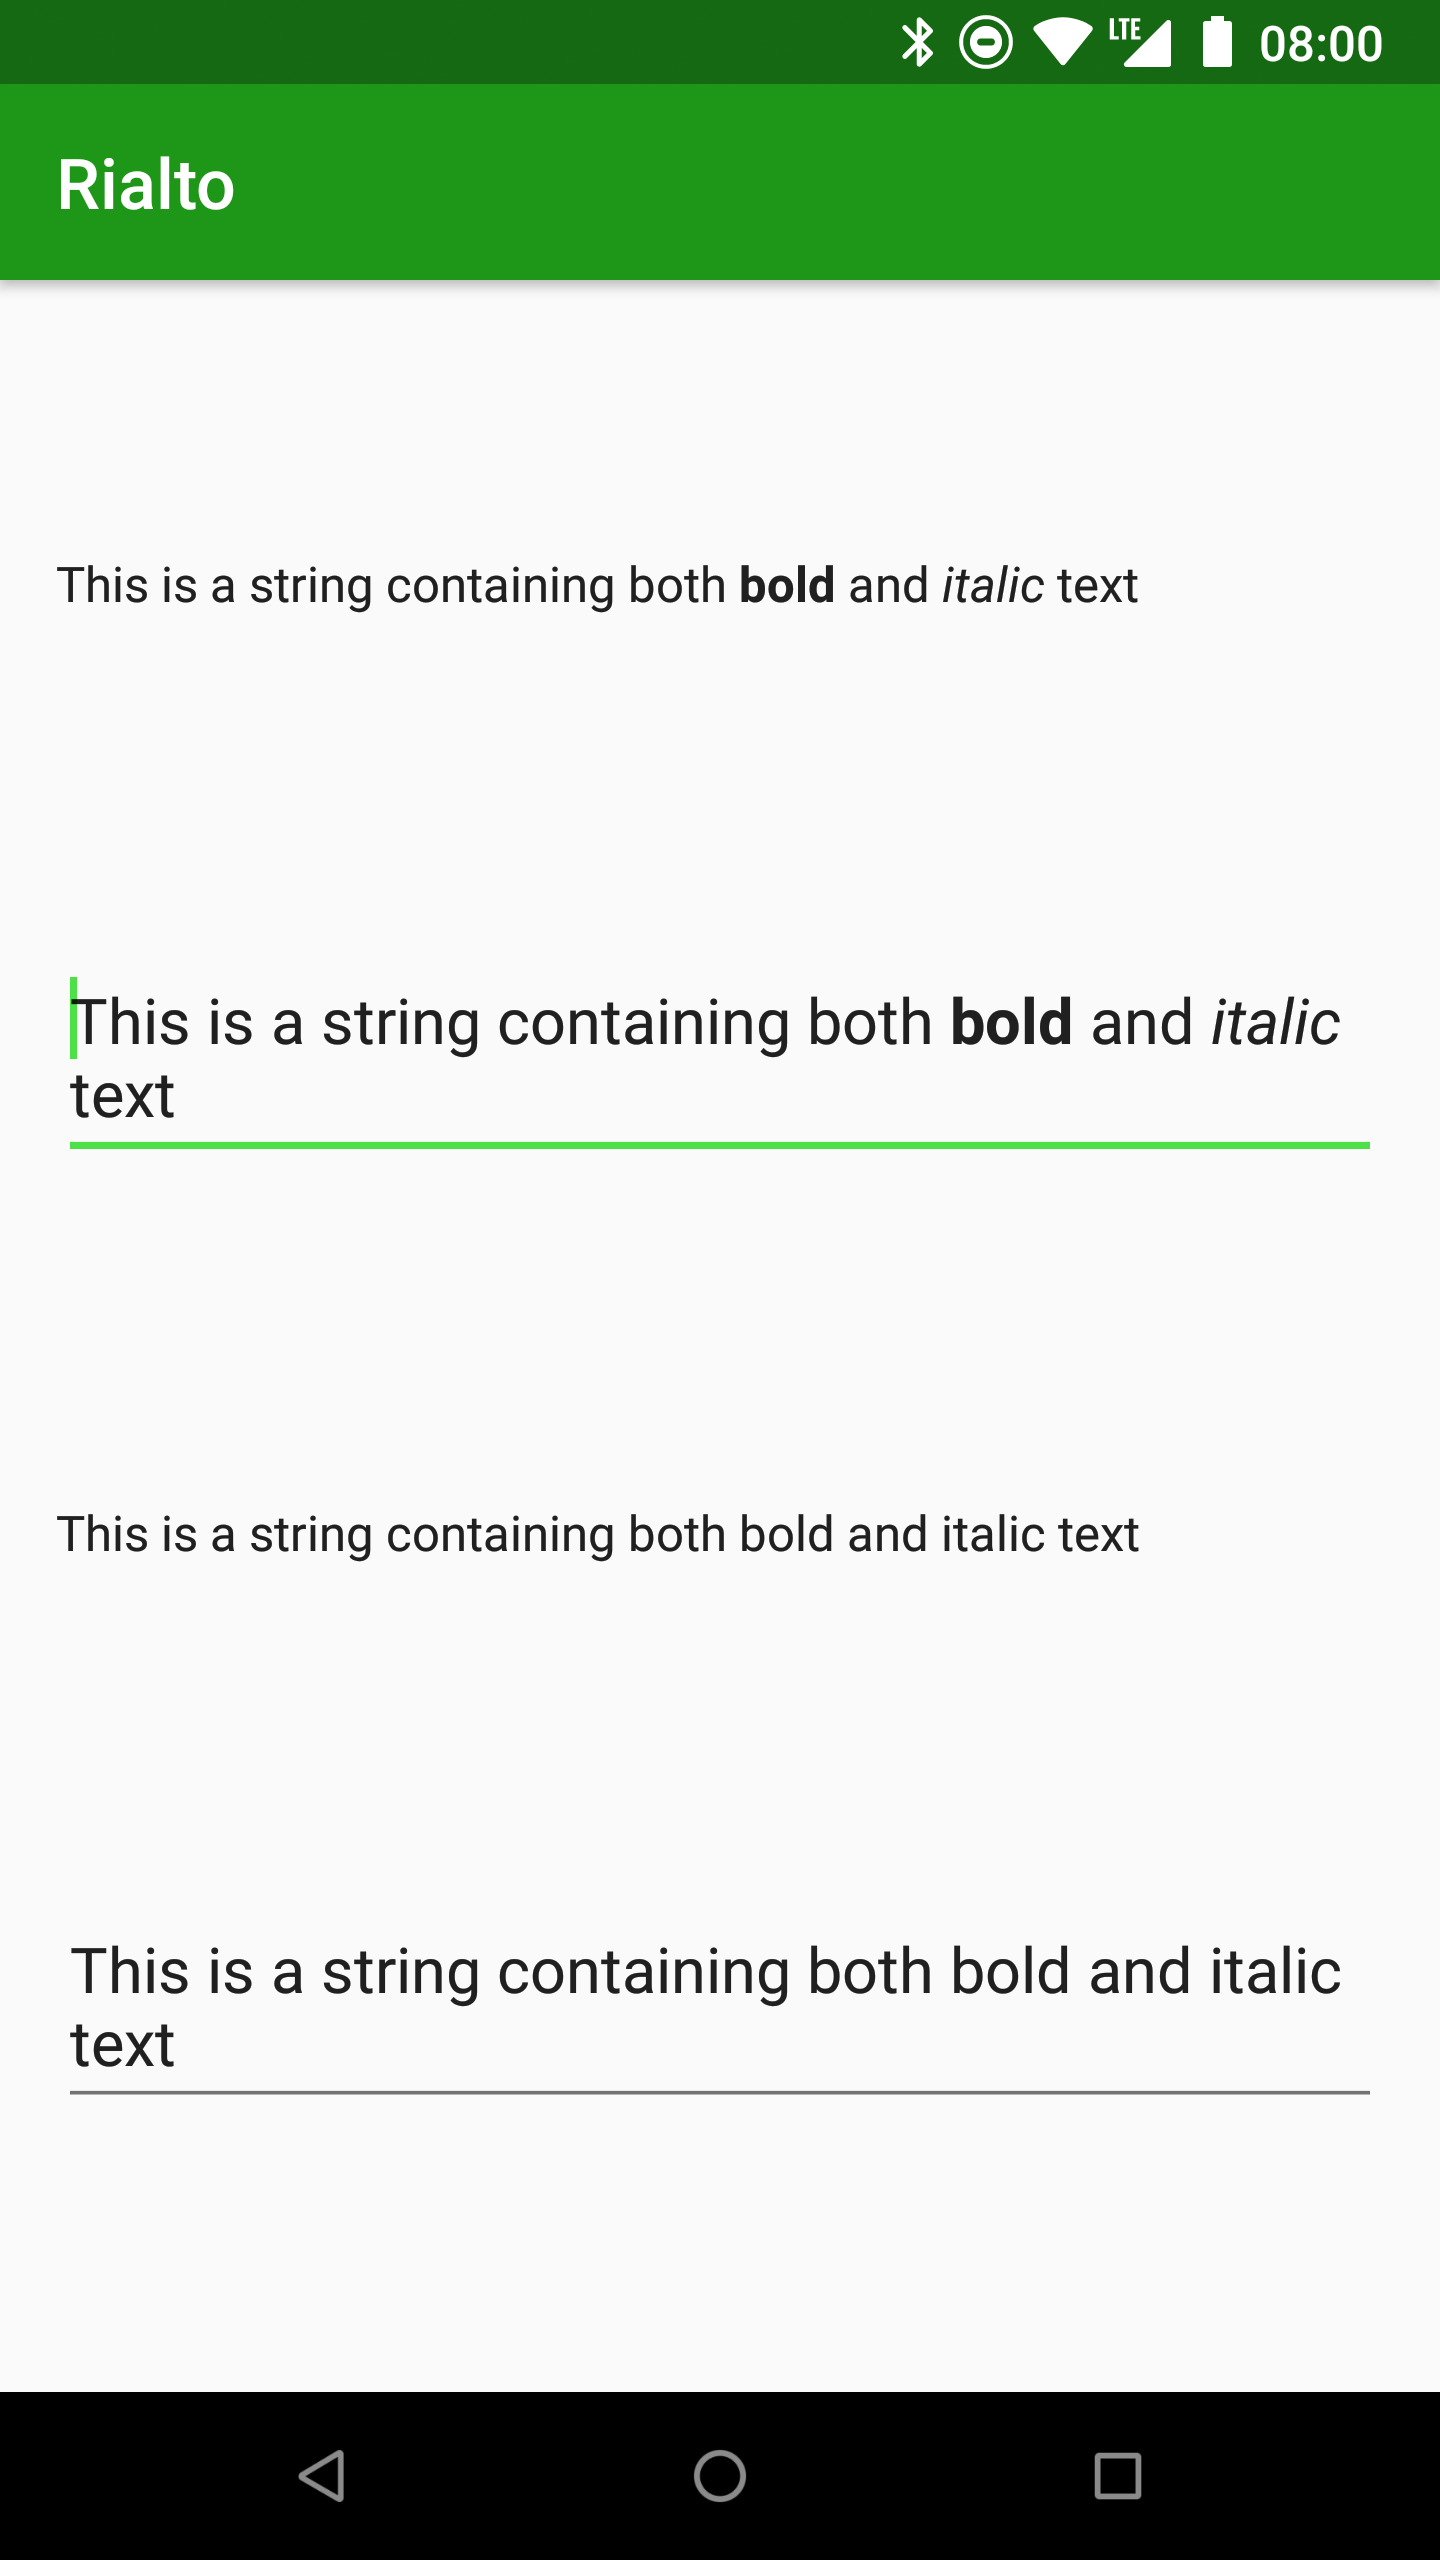
Of course, you may not always wish to have formatting applied to all of your TextView and EditText instances within the layout. You can disable formatting by setting the annotationFormatting attribute to false:
<?xml version="1.0" encoding="utf-8"?>
<androidx.constraintlayout.widget.ConstraintLayout xmlns:android="http://schemas.android.com/apk/res/android"
    xmlns:app="http://schemas.android.com/apk/res-auto"
    xmlns:tools="http://schemas.android.com/tools"
    android:layout_width="match_parent"
    android:layout_height="match_parent"
    tools:context="com.stylingandroid.rialto.kotlin.MainActivity">

    <TextView
        android:id="@+id/formatted_text_view"
        android:layout_width="0dp"
        android:layout_height="wrap_content"
        android:layout_margin="16dp"
        android:text="@string/main_text"
        app:layout_constraintBottom_toTopOf="@id/formatted_edit_text"
        app:layout_constraintLeft_toLeftOf="parent"
        app:layout_constraintRight_toRightOf="parent"
        app:layout_constraintTop_toTopOf="parent" />

    <EditText
        android:id="@+id/formatted_edit_text"
        android:layout_width="0dp"
        android:layout_height="wrap_content"
        android:layout_margin="16dp"
        android:text="@string/main_text"
        app:layout_constraintBottom_toTopOf="@id/unformatted_text_view"
        app:layout_constraintLeft_toLeftOf="parent"
        app:layout_constraintRight_toRightOf="parent"
        app:layout_constraintTop_toBottomOf="@+id/formatted_text_view" />

    <TextView
        android:id="@+id/unformatted_text_view"
        android:layout_width="0dp"
        android:layout_height="wrap_content"
        android:layout_margin="16dp"
        android:text="@string/main_text"
        app:annotationFormatting="false"
        app:layout_constraintBottom_toTopOf="@id/unformatted_edit_text"
        app:layout_constraintLeft_toLeftOf="parent"
        app:layout_constraintRight_toRightOf="parent"
        app:layout_constraintTop_toBottomOf="@id/formatted_edit_text"
        tools:ignore="missingPrefix" />

    <EditText
        android:id="@+id/unformatted_edit_text"
        android:layout_width="0dp"
        android:layout_height="wrap_content"
        android:layout_margin="16dp"
        android:text="@string/main_text"
        app:annotationFormatting="false"
        app:layout_constraintBottom_toBottomOf="parent"
        app:layout_constraintLeft_toLeftOf="parent"
        app:layout_constraintRight_toRightOf="parent"
        app:layout_constraintTop_toBottomOf="@+id/unformatted_text_view"
        tools:ignore="missingPrefix"/>

</androidx.constraintlayout.widget.ConstraintLayout>
Using this attribute results in a lint warning, so where we use it we may need to disable the missingPrefix warning using tools:ignore="missingPrefix".
We can see how we can selectively apply the formatting:
Combining Spans
One possible complexity when using annotation spans is that it is not possible to use the same key more than once in any specific annotation instance. In other words, if you have <annotation format="bold" format="underline">...</annotation> within a string resource you'll get an error because XML does not support multiple attributes of the same name. One solution to this is to nest annotation elements one inside another, but this ends up becoming rather verbose and will bloat your string resources making them difficult to read.
The mechanism that Rialto uses to allow multiple span types to be combined is that it allows you to set multiple span factories for any given key/value pair. The easiest way to demonstrate this is with an example:
class MainActivity : RialtoActivity() {

    override fun onCreate(savedInstanceState: Bundle?) {
        super.onCreate(savedInstanceState)
        registerSpanFactory("format", "bold") { StyleSpan(Typeface.BOLD) }
        registerSpanFactory("format", "italic") { StyleSpan(Typeface.ITALIC) }
        registerSpanFactory("format", "bold_underline") { StyleSpan(Typeface.BOLD) }
        registerSpanFactory("format", "bold_underline") { UnderlineSpan() }
        setContentView(R.layout.activity_main)
    }
}
Here we add two separate span factories for the key "format" with the value "bold_underline". When an annotation of <annotation format="bold_underline">...</annotation> is encountered within a string resource, then both the bold and underline spans will be applied:
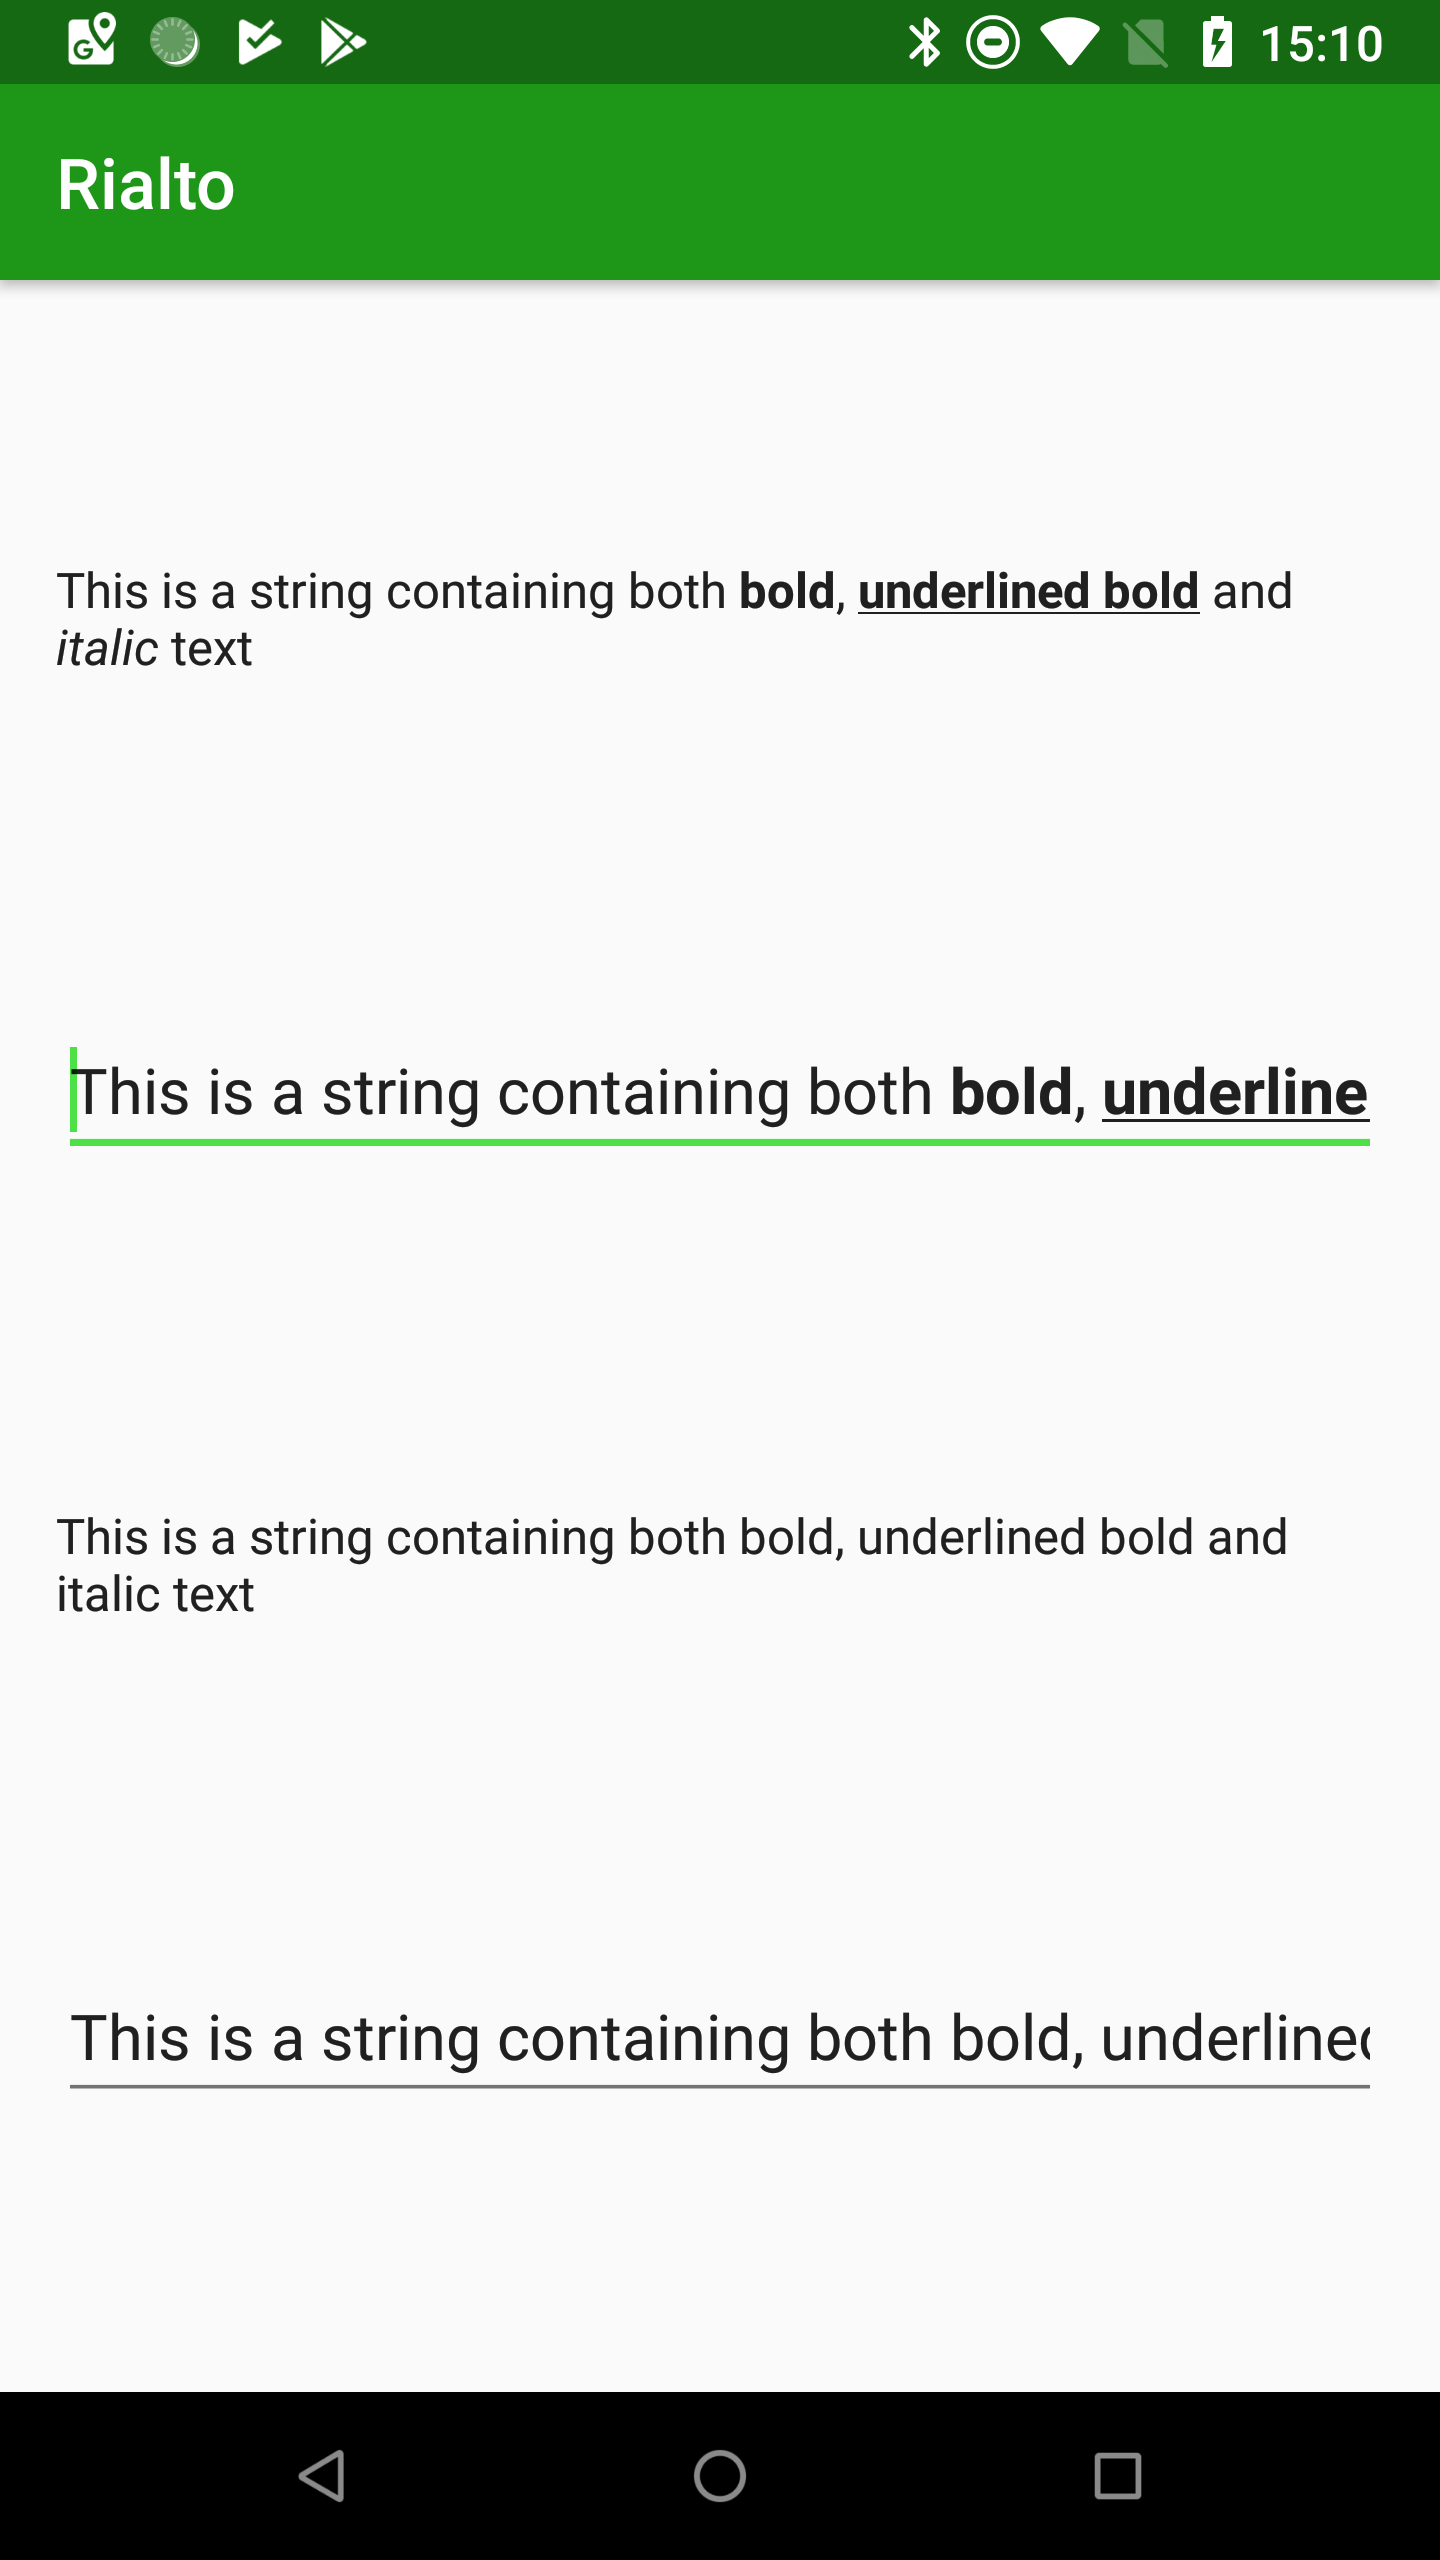
Previously I mentioned that it would become apparent why it is better to apply formatting such as bold and italic using annotations spans rather than <b> and <i> and this is why. While we could achieve bold underline using <b><u>...</u></b> it would make it much harder to combine these kinds of formats with others which are not supported by the HTML style formatting. However if we use a consistent approach throughout our app, then we can easily combine formats as per this example.
Cascading Registry
Although Rialto is pretty easy to set up, it does need to be set up in each individual Activity. While this would not be so much of a problem for apps which have different visual styles for each Activity, but in many cases there will be certain annotations which would be useful to have available throughout the app. For this reason, V1.1.0 introduces a cascading Registry. The Rialto Registry is where all of the span factories are registered, and it is now possible to define a Registry within your Application instance. Any span factories that are registered directly to this Registry will be available to all of your Rialto Activities. You can register further span factories within each Activity, but these additions will only be available within the Activity itself. This provides great flexibility because you can define any common styles at application level, and then Activity-specific styles locally. Creating an Application Registry is pretty simple. You can either subclass RialtoApplication and register your global spans in onCreate():
class KotlinApplication : RialtoApplication() {

    override fun onCreate() {
        super.onCreate()
        registerSpanFactory("format", "underline") { UnderlineSpan() }
    }
}
Alternatively, if you would prefer not to subclass RialtoApplication, you can implement things manually with just a few additional lines of code:
class KotlinApplication @JvmOverloads constructor(
    registry: RialtoRegistry = Registry()
) : Application(), RialtoRegistry by registry {

    override fun onCreate() {
        super.onCreate()
        registerSpanFactory("format", "underline") { UnderlineSpan() }
    }
}
Kotlin delegation makes this really easy.
If you are doing this from Java, then it is slightly more work still, but still nothing major - you just need to perform the delegation manually:
public class JavaApplication extends Application implements RialtoRegistry {

    private RialtoRegistry delegate = new Registry();

    @NotNull
    @Override
    public Set<Function0<Object>> get(@NotNull String key, @NotNull String value) {
        return delegate.get(key, value);
    }

    @Override
    public void registerSpanFactory(@NotNull String key, @NotNull String value, @NotNull Function0<?> creator) {
        delegate.registerSpanFactory(key, value, creator);
    }

    @NotNull
    @Override
    public RialtoRegistry copy() {
        return delegate.copy();
    }

    @Override
    public void onCreate() {
        super.onCreate();
        registerSpanFactory("format", "underline", UnderlineSpan::new);
    }
}
By doing this, any Activities which use Rialto will automatically get any span registrations that are made here - there's nothing more that you need to do!
Currently it isn't possible to do this selectively for specific Activities - if you have an Application-level Registry, then all Activities will get it. If anyone needs this functionality please raise an issue and I'll look at adding an option to do this.
Format Strings
The other new feature introduced in Rialto 1.1.0 is the ability to load formatted strings containing annotations. Android only permits resource string formatting to be performed on simple string resources, so if you attempt to load a formatted String which contains annotations, then the annotations will be lost as it is loaded. Rialto 1.1.0 introduces an extension function to Resources which enables string resources containing formatting to be loaded as Spanned objects keeping the annotation spans intact. Rialto can then process these as normal.
If we have the following string resource defined:
<string name="formatted">This is a <annotation format="bold">%1$s</annotation> string</string>
This can be retrieved using the extension function with a set of format arguments which will be substituted in:
val newText = resources.getFormattedText(R.string.formatted, "formatted")
This takes the resource ID of the string and a varargs array of the values to use for the formatting. This works in the same way as Resources.getString(int id, Object... formatArgs) except that it returns a CharSequence with the annotations intact.
The following string will be produced:
This is a formatted string
The annotation span will remain, and will have expanded so that it now surrounds the word "formatted" which was substituted in as part of the formatting. Provided that we have a span factory registered for the key 'format' and value 'bold' to match the annotation in the string resource, then Rialto will correctly format things:

One limitation here is that annotations are only supported on the string resource itself. In other words they can be used in the string resource referenced by the first argument, but they cannot be used within any of the varargs parameters. Despite this limitation, this feature still provides some quite useful formatting of annotated strings.
Downloadable Fonts
Downloadable fonts have been around since the Oreo developer previews, and were made backwardly compatible Support Library 26, so there's really no reason not to be using them. When downloading these on-demand it is really important to add meta-data to the manifest so that these will get downloaded when your app is installed. This ensures that when your app is launched for the first time all of the required fonts have been downloaded to the device. I'm please to announce that there is now a mechanism to easily hook these in to Rialto so that you can use these in annotations.
The key to this is by using the preloaded_fonts array that is used when pre-declaring the fonts in the manifest. This array will actually be generated for you automatically if you use the tools built in to Android Studio to manage downloadable fonts. It is this array that Rialto uses. A typical @arrays/preloaded_fonts file looks something like this:
<?xml version="1.0" encoding="utf-8"?>
<resources>
    <array name="preloaded_fonts" translatable="false">
        <item>@font/audiowide</item>
        <item>@font/pacifico</item>
    </array>
</resources>
This defines two fonts which are used by the app – named “audiowide” and “pacifico”. To hook these up to Rialto we use FontRegistrar which was added to Rialto V1.2.0. We can use this either within our Application instance to provide support throughout the app, or in individual Activities to limit availability to specific Activities. Here we are applying it to the Application:
class KotlinApplication @JvmOverloads constructor(
    registry: RialtoRegistry = Registry()
) : Application(), RialtoRegistry by registry {

    override fun onCreate() {
        super.onCreate()
        registerSpanFactory("format", "underline") { UnderlineSpan() }
        FontRegistrar(this)
            .registerFonts(this, "font", R.array.preloaded_fonts)
    }
}
The FontRegistrar takes a single context as an argument. FontRegistrar contains a single method named registerFonts() which takes three arguments: The first is the RialtoRegistry to which the fonts will be added (RialtoDelegate implements RialtoRegistry so can be used here also); the second is the attribute name to which the fonts will be registered; and the third is the ID of the preloaded_fonts array. FontRegistrar will iterate through the array and register each font using the name from the second argument, and a value equal to the font name which will create a Span to use the relevant font wherever it is encountered.
Using the preloaded_fonts array that we looked at earlier would result in two items being registered, one for each font. An example will show this in action and will probably be easier to understand that the dry description:
<resources>
    <string name="main_text">This has <annotation font="pacifico">two</annotation> <annotation font="audiowide">different</annotation> fonts</string>
</resources>
The attribute names match those of the second argument to the registerFonts() method, and the values correspond to the font names from the preloaded_fonts array. Running this results in:

It is worth noting that since V1.2.0 Rialto is case insensitive, so using a font name of “Pacifico” is identical to using “pacifico”.
There’s really nothing more to this – registering your preloaded_fonts array using FontRegistrar does all that you need, and you just need to use the appropriate annotations within your string resources to make use of them.
Java Interoperability
The other thing worth covering is how to use Rialto in cases where extending RialtoActivity is not possible. Your Activity must implement the RialtoDelegate interface, and needs to construct a RialtoDelegate instance to which it delegates all of the required behaviour:
class MainActivity : AppCompatActivity(), RialtoDelegate {
    private lateinit var delegate: RialtoDelegate

    override fun registerSpanFactory(key: String, value: String, creator: () -> Any) {
        delegate.registerSpanFactory(key, value, creator)
    }

    override fun processAnnotations(text: CharSequence?): CharSequence? =
            delegate.processAnnotations(text)

    override fun onCreate(savedInstanceState: Bundle?) {
        delegate = RialtoDelegateImpl(this)

        super.onCreate(savedInstanceState)
        registerSpanFactory("format", "bold") { StyleSpan(Typeface.BOLD) }
        registerSpanFactory("format", "italic") { StyleSpan(Typeface.ITALIC) }
        setContentView(R.layout.activity_main)
    }
}
Implementing RialtoDelegate requires the methods registerSpanFactory(key: String, value: String, creator: () -> Any) and processAnnotations(text: CharSequence?): CharSequence? to be implemented. All we need to do here is create an instance of RialtoDelegateImpl(this) which we do in onCreate() and then we can delegate both of these methods to the RialtoDelegateImpl instance. It is important to initialise this before the call to super.onCreate() otherwise Rialto will not initialise correctly, and no processing of annotation in string resources will be performed.
We can also do this from Java in much the same way:
public class MainActivity extends AppCompatActivity implements RialtoDelegate {

    private RialtoDelegate delegate = null;

    @Override
    public void registerSpanFactory(@NotNull String key, @NotNull String value, @NotNull Function0<?> creator) {
        delegate.registerSpanFactory(key, value, creator);
    }

    @Override
    public CharSequence processAnnotations(CharSequence text) {
        return delegate.processAnnotations(text);
    }

    @Override
    protected void onCreate(@Nullable Bundle savedInstanceState) {
        delegate = new RialtoDelegateImpl(this);

        super.onCreate(savedInstanceState);

        registerSpanFactory("format", "bold", new Function0<CharacterStyle>() {
            @Override
            public CharacterStyle invoke() {
                return new StyleSpan(Typeface.BOLD);
            }
        });
        registerSpanFactory("format", "italic", () -> new StyleSpan(Typeface.ITALIC));
        setContentView(R.layout.activity_main);
    }
}
The important differences here are with the method signatures of the methods from RialtoDelegate that we need to override. However, if you allow Android Studio to generate the method stubs for you once you have added implements RialtoDelegate to the MainActivity class, then you can't go far wrong.
One last thing worth mentioning is that if you are using Rialto from Java there are a couple of things worth bearing in mind. Firstly, the mechanism for calling registerSpanFactory() will vary depending on whether you are using Java 7 or Java 8:
If you are using Java 7 then you will need to create a Function0 instance as the third argument to registerSpanFactory():
registerSpanFactory("format", "bold", new Function0<CharacterStyle>() {
    @Override
    public CharacterStyle invoke() {
        return new StyleSpan(Typeface.BOLD);
    }
});
However if you are using Java 8 (or Retrolambda) then you can use a lambda instead:
registerSpanFactory("format", "italic", () -> new StyleSpan(Typeface.ITALIC));
The second thing that you will need to do is add the Kotlin standard library as a dependency to your project:
dependencies {
    ...
    implementation "org.jetbrains.kotlin:kotlin-stdlib-jdk7:$kotlin_version"
    ...
}
To use format strings from Java you will need to add a little extra code to access the extension function that gets exposed to Java:
SpannableFormatterKt.getFormattedText(getResources(), R.string.formatted_italic, "formatted")
Rialto is written 100% in Kotlin, but can be used quite easily from Java. The only pre-requisite is that the Kotlin standard library is needed because it contains the Function0 class that is used for Java compatibility of Kotlin lambdas.
Internals
One final thing worth noting is that when Rialto does its stuff, it adds spans to the string resource, but does not remove the annotation spans as it goes. The reasoning behind this is that some use-cases may require some further processing of those annotations, and removing them would prevent this. Also, it is worth remembering that on a Spanned instance the individual Span objects are relatively small, so keeping the Annotation instances is not going to be a major memory issue.
Rialto is really quite simple to use and the API surface is really quite small. Internally it isn't a particularly large or complex library, it's power is based upon creating the registry of span factories which apply the relevant spans whenever specific annotations are encountered.
